


Discover everything you need to know about LashBeePro adhesives, from dry times to valuable storage tips. Keep reading to learn more!
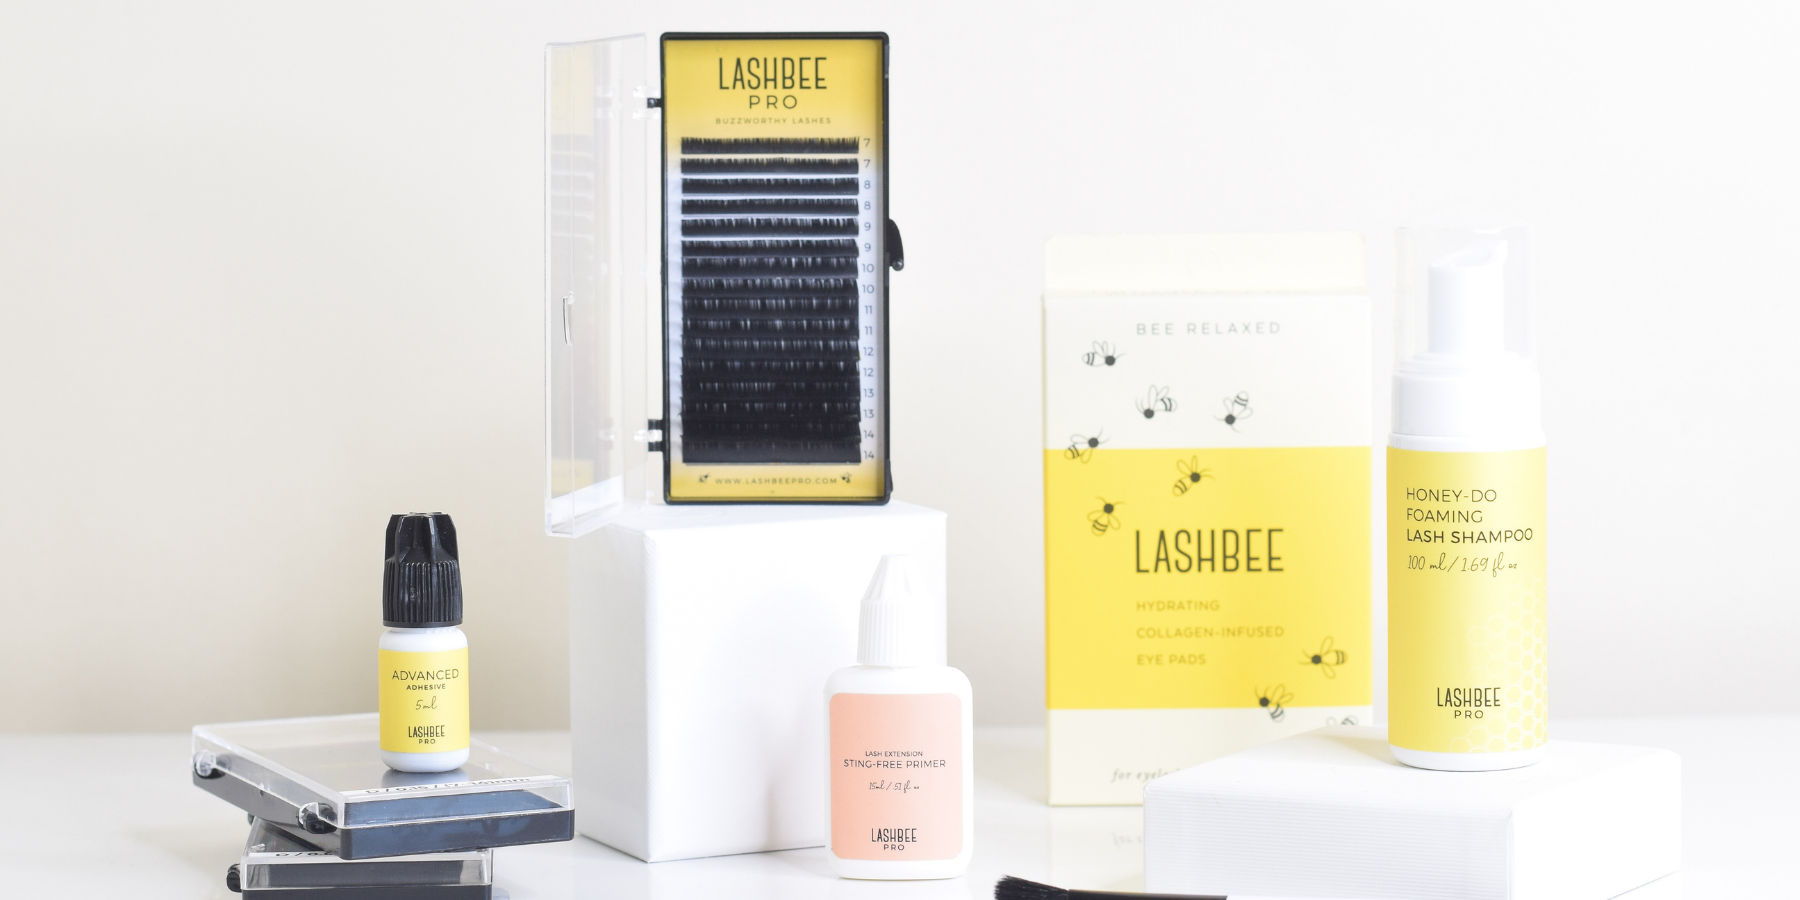
Here at LashBeePro, we call our adhesives "little pots of honey." Why? Honey is everything to a bee, and adhesives are everything to a lash artist. We've got 6 pots of honey:Flexible, Low Humidity, High Humidity, Advanced, Advanced+ and Clear.
(Refer to the chart below for a summary of humidity levels + dry times)
From the same formula of our Advanced+ Adhesive except there's no carbon black in this bottle. Perfect for your more sensitive clients or while working with colored lashes. This pot of honey is most effective in 45 - 65% humidity.
This adhesive is perfect for advanced lash artists with fast lash placement. This adhesive has a dry time of 0.5 - 1 second, making application a breeze. Cut down on service time and experience increased retention with this pot of honey. Most effective in 45 - 60% humidity.
Our Advanced Adhesive is perfect for the seasoned pro! It dries in 1 - 2 seconds for those who can place lashes a bit quicker than with our other adhesives. This adhesive is most effective in 40 - 60% humidity.
Your saving grace for the colder months or dry climates! Our Low Humidity Adhesive is specifically formulated to operate perfectly in 20 - 40% humidity. While it dries a bit slower with a dry time of 2 - 3 seconds, it'll still give you an ultra-strong bond.
Beat the summer heat + keep your client's retention on point! Perfectly formulated to withstand the hottest of days. This adhesive is specifically formulated for 60%+ humidity and has a dry time of 1 - 2 seconds.
New to lashing? The Flexible Adhesive might be perfect for you with it's dry time of 3 - 5 seconds - plenty of time to hone in on your lash placement! This adhesive is most effective in 40 - 60% humidity.
Let’s dive into tips + tricks for getting the most out of our adhesives!
Lashing Spaces + Lashing Time:
When it comes to adhesive, you want to select the correct one for your lashing environment and lashing speed. We recommend getting a hygrometer to measure the humidity and temperature in your space and only seek out those adhesives that are formulated to work in that specific range.
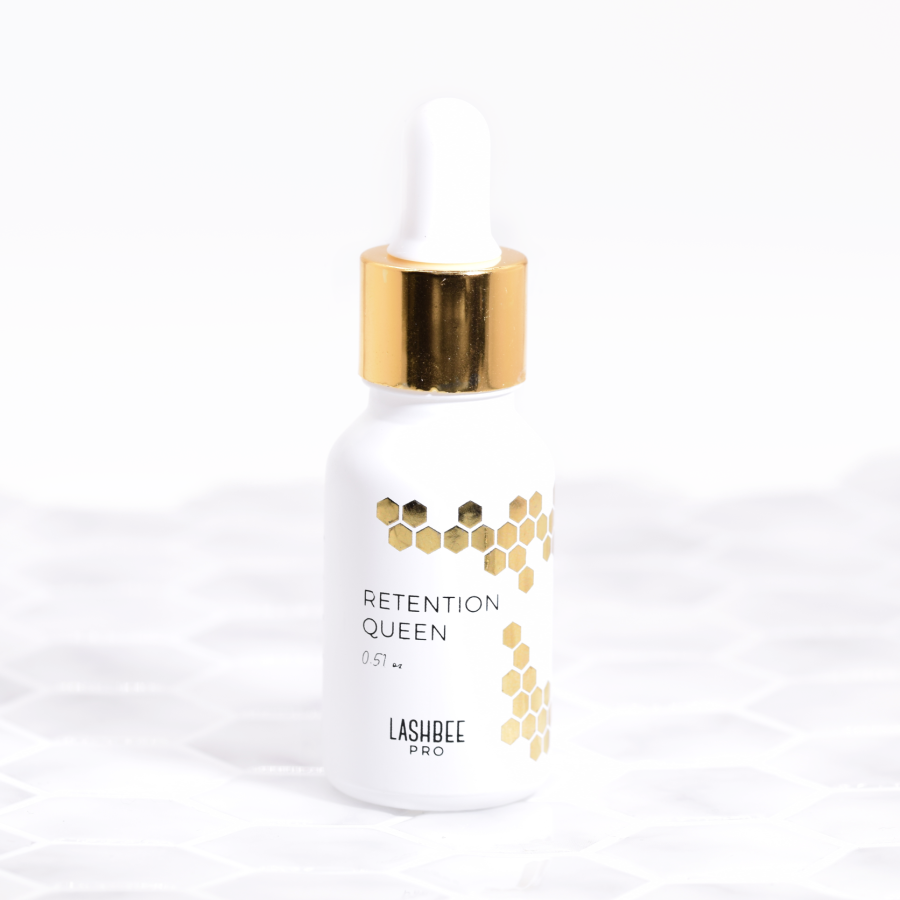
Likewise, it's essential to select an adhesive with a dry time that works for your current speed. If you're using an adhesive that dries in 1 second but you take up to 3 seconds to place a lash, your lash bonds may suffer. It's better to use adhesive that dries in the time you personally take to place. Alternatively, if you find yourself holding extensions in place an extra second or more after placement, you'll know it's time to switch to a faster drying adhesive! We also recommend trying a retention bond-booster like ourRetention Queen or nanomister to help speed up the bonding process.
Remember that adhesives are not a one-size-fits-all - do your own research before making your decision! Before ordering the first adhesive recommended to you on a Facebook group, check to ensure it'll work in YOUR environment and with YOUR lashing speed. Just because an adhesive works perfectly for someone else doesn't necessarily mean it will work perfectly for you. We recommend doing some basic research into thecyanoacrylate molecules that create lash adhesive so that you're fully informed when making purchases!
Proper Storage + Care:
With proper adhesive use comes proper storage. Your adhesive must be taken care of properly to get the most out of it for as long as possible.
Before opening, store up to 6 months in a cool, dry place. After opening, keep it at room temperature, ideally stored upright in an airtight container. Make sure your space stays at room temperature overnight - all too often rooms heat up when the AC is turned off in the summer, causing the adhesive to turn! Don't place it in the freezer or refrigerator, as this can cause condensation to form inside.
When working with your adhesive, shake for a full 30 - 60 seconds before using to let all the components come back together after sitting and separating. Consider purchasing a nail polish shaker (inexpensive options are available on Amazon) to save you some prep time in the morning - simply turn on the machine and let it do its magic while you prep for your first client!
After use, always burp the bottle and fully wipe the nozzle to prevent the cap from getting stuck. Close tightly to ensure no air gets in. Replace after a maximum of 5 weeks, but more frequently if you lash full time or share the bottle with another artist. Air will sneak in every time you open and close the bottle - the last thing you want is to be doing complimentary fills or fighting bad reviews because you hadn't changed your adhesive quickly enough!
Lastly, don't forget that lash cleansing routines are a key part of maintaining all the hard work you and your little pots of honey are doing! Make proper aftercare education a regular part of each appointment, whether it's for a first-time client seeking a full set or a years-long regular you see every couple of weeks.
We hope this can be a resource for any adhesive questions you may have - if you have any more tips and tricks, comment below!
Shop our Adhesives
ADVANCED ADHESIVE
LOW HUMIDITY ADHESIVE
HIGH HUMIDITY ADHESIVE
FLEXIBLE ADHESIVE