


Click, snap, zoom! All the wonderful sounds when taking your client photos. From lighting to editing, we’ve got the buzz on what to consider before taking your client photos. Apply these, and your portfolio will help keep your books full before you know it!
Working with a professional digital camera can make a world of difference in quality of photos, but we know a DSLR isn’t always in the budget or can be too time-consuming to whip out regularly. In either case, client photos can often turn out just as great using your phone. Let’s take a look at some photography best practices that will elevate your client photos, from the phone OR a camera.
1. Find the right lighting:
Lighting is critical for great photos. If you’re using a Glamcor or a ring light, make it do double duty and use it on your photos! Turn up the brightness to achieve a more studio-esque look. If you have a window in your space letting in sufficient light, consider moving your client to the window to draw on the natural light. Both light sources can produce quality images that can better show off your work.
2. Know your angles:
This is the time to get creative and play around with different angles! If you haven’t found your favorite ways to photograph your work, gather some inspo from Instagram accounts you admire. Consider playing around with various angles with a friend who won’t mind being your model. Find at least 3-5 go-to angles to mix up your feed! Look for creative ways to incorporate before and after shots, retention, etc.
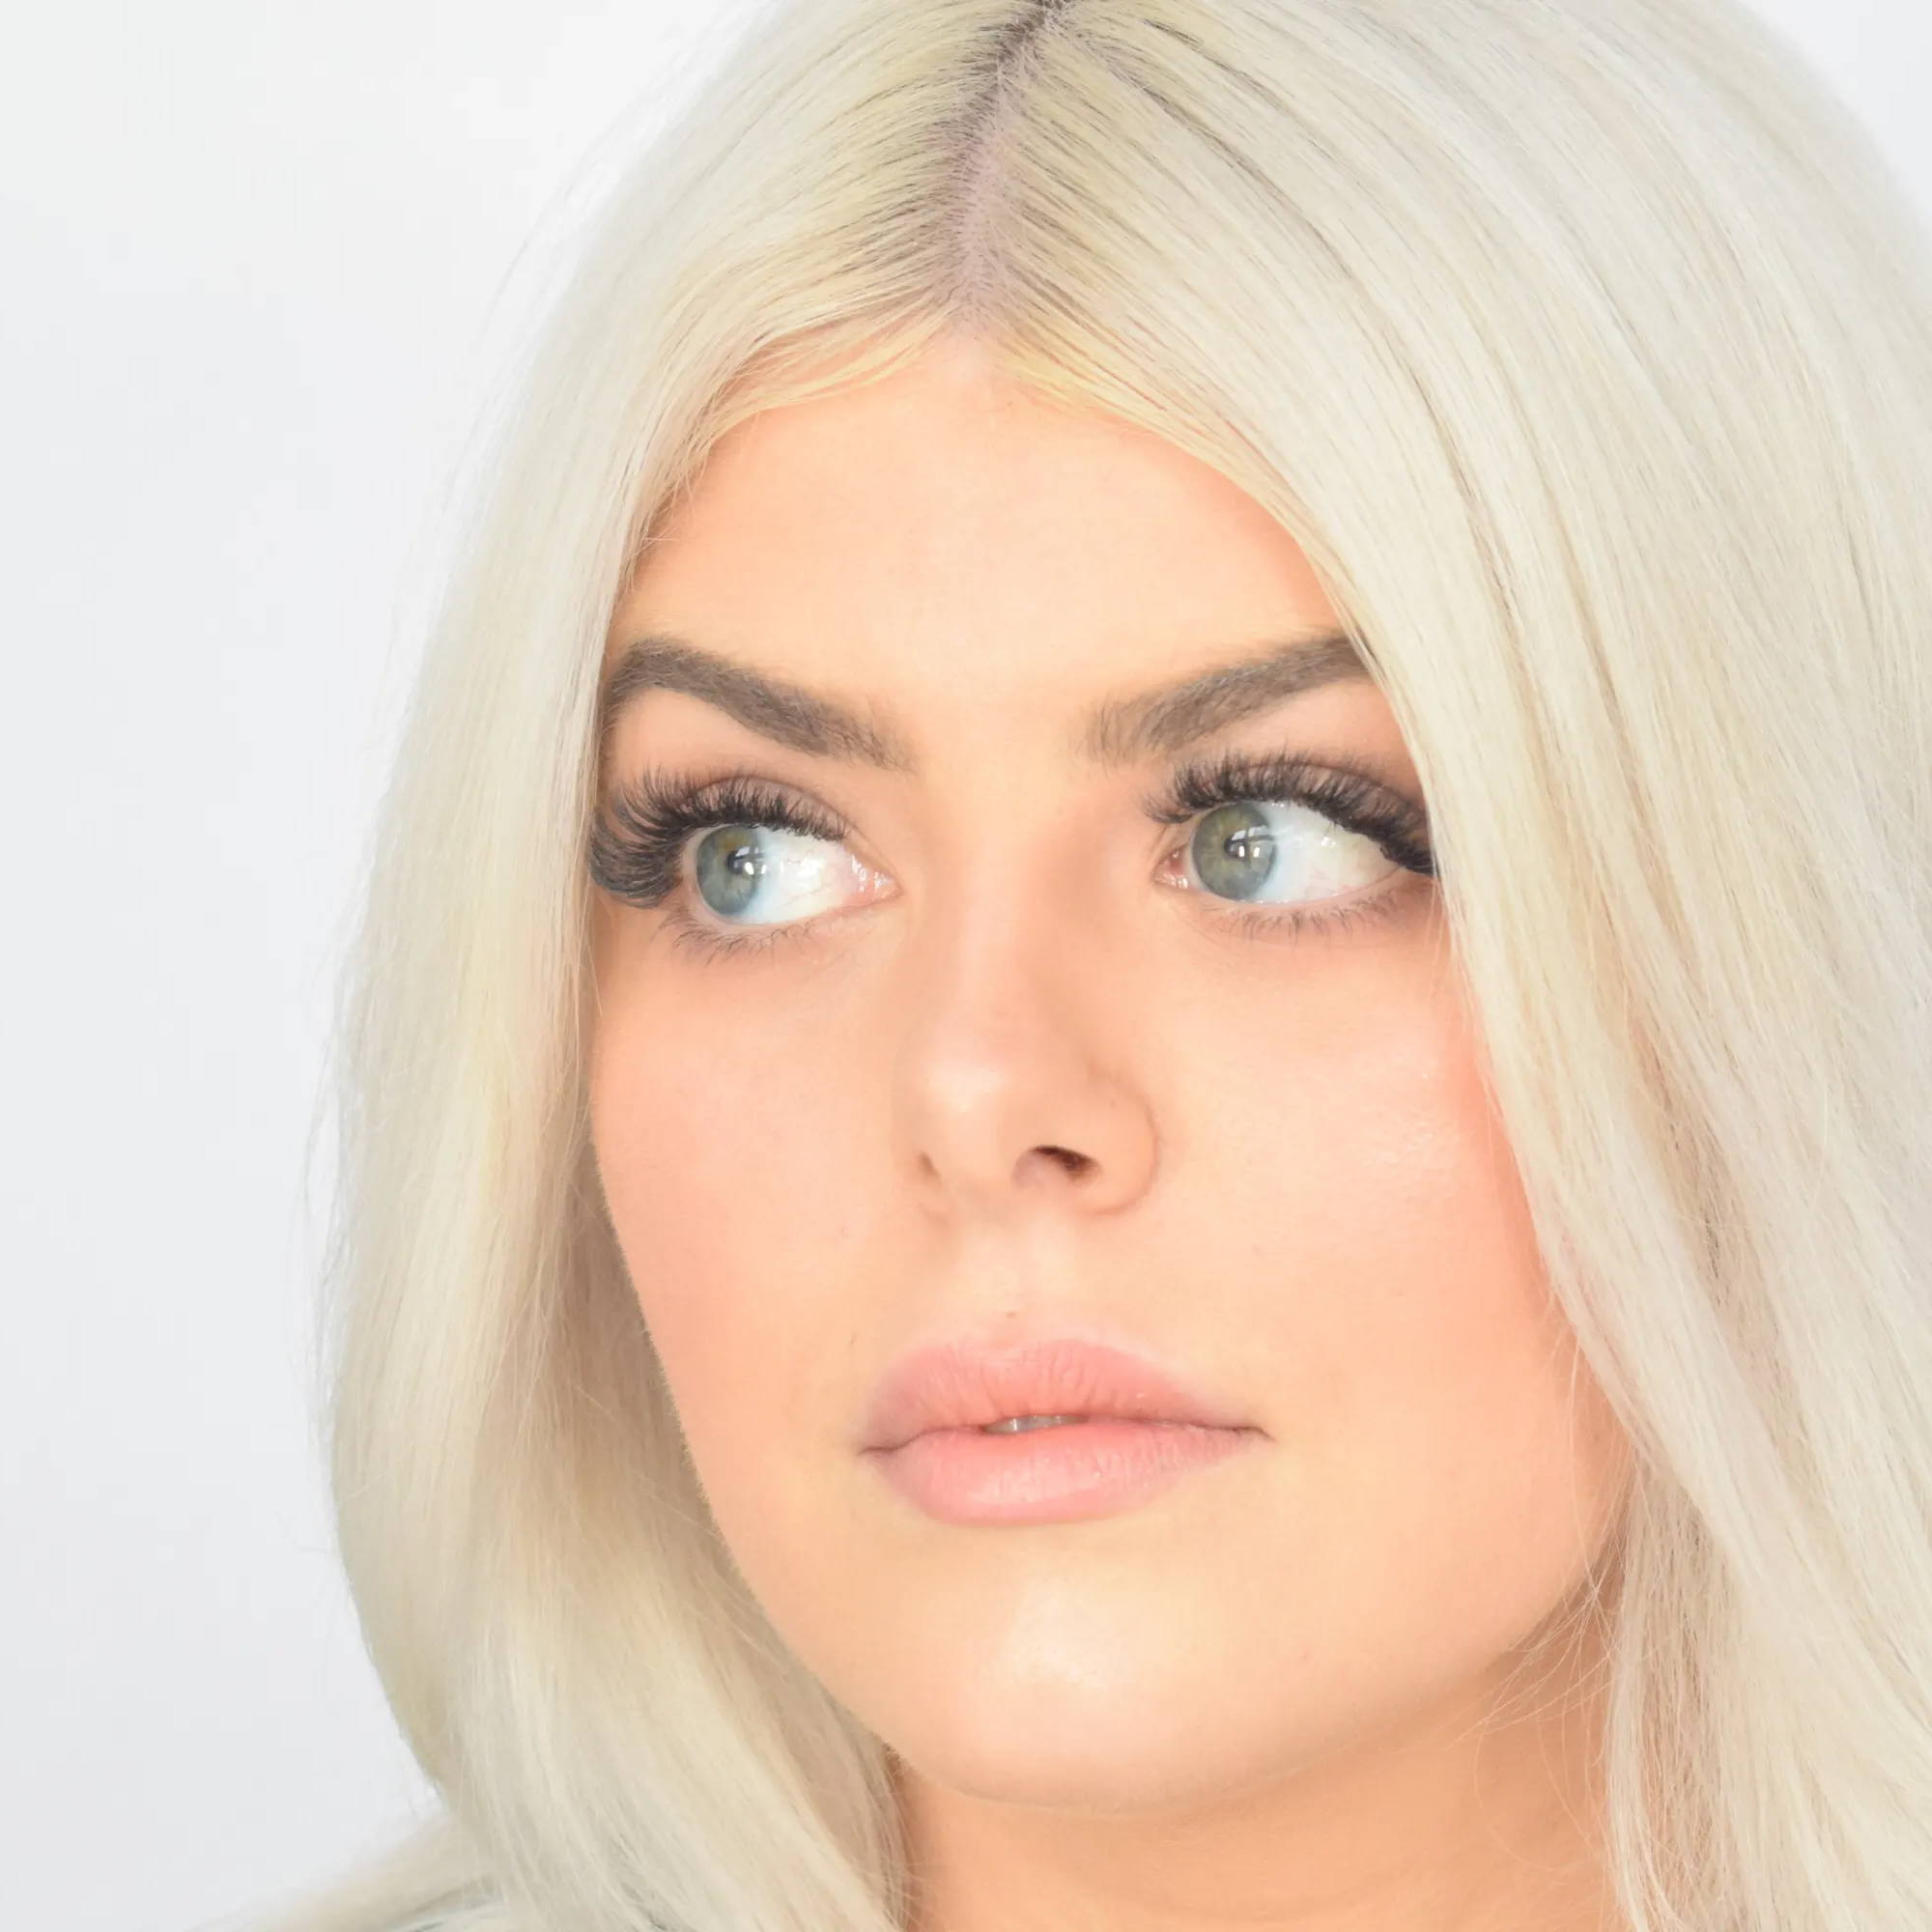
3. Don’t forget the details:
Have you ever taken a great photo only to later notice some stray hairs? Totally annoying but, thankfully, avoidable! Save yourself the editing headache by double-checking your client’s face before getting out the camera -brush their lashes, remove stray hairs, etc. Taking this extra step will eliminate distractions, ensuring your work is the focal point.
4. Edit like a pro:
We know how jam-packed a lash artist’s schedule can get - there’s often no time to sit down and open up your laptop to edit client photos. We’ve compiled four essential phone apps that give professional editing tools like Adobe Lightroom and Photoshop a run for their money:
Standard editing tool: Snapseed
-
Snapseed does just about everything that Photoshop and Lightroom can, but from your phone! Standard editing features include brightness, contrast, and saturation, but Snapseed can even edit specific areas through its selector tool. This means you can brightenjusta client’s under eyes or sharpen the lashes to better show off your work, without modifying the entire photo.
Removal tool:Retouch
- Retouch makes removing unsightly features a breeze. Use it to seamlessly remove blemishes, stray hairs, etc. that snuck into the photo after all.
Final touches tool: Facetune 2
- The original Facetune has been extremely popular, but this newer version provides more editing options. We love this app for its “smoothing tool,” which allows you to soften natural lines, blemishes, dark circles, etc. We recommend setting the smoothing tool at a max of 50% to avoid that melted-plastic look we see all too often.
Scheduling tool:UNUM
UNUM is perfect for scheduling out your Instagram feed in advance. It provides a very user-friendly / interactive grid that allows you to see exactly how you want your feed to look before posting. It includes scheduling capabilities that make it easier to plan out social media posts, down to the day and time of posting.
A word of caution when editing: don’t overdo it! Less is more when it comes to ensuring natural-looking edits. These editing apps can give you clean photos that let your work speak for itself. Avoid over-editing [e.g., don’t over-expose the image, add excessively heavy filters, set the smoothing or blur tool to more than 50%]. Even better, keeping your edits simple will also make it easier for you to share your photos faster!
5. Focus, Focus, Focus:
The final and most important tip is to make sure your photos are coming out as clear as possible from the get-go. Don’t make it difficult for your followers/potential clients to see your work. This means really focusing in on your work. Whether with a digital camera or your phone, make sure your hand is steady and that the image looks clear. Don’t forget to also check that the lens is clean and not foggy. No amount of editing can truly save a blurry photo.
Now that you’ve learned some tricks, it’s time to put them to use. Before you know it, you’ll be a seasoned photo pro (practice makes perfect, just like lashing)!